
Chasing the Noise: Lessons from the Front Row of Live Music Photography
- Lena Terry
- Apr 21
- 3 min read

If you’ve spent any time on my Live Music / Events page, you know I love the chaos of a dark venue.
I’ve spent countless hours practicing at gigs—starting out with the Riot Gullls (Compass Music) at spots like the Quarterhouse in Folkestone. Those early shows were a masterclass in "making do" with what you’ve got. When you're dealing with unpredictable stage lights and fast-moving bands, you have to be sharper than your focus.
Here is what I’ve learned about getting that cinematic look—and surviving the pit—when the lights go down.
1. The Media Pass: Getting Into the Pit
If you want the best shots, you need to be in the "pit" (the area between the stage and the crowd). To get there at bigger shows, you usually need a Media Pass.
The Portfolio is Key: I built mine by shooting at local venues first. Once you have a solid body of work, reach out to promoters or the bands.
The "Three-Song" Rule: At professional gigs, you usually only get to shoot the first three songs. You have to work fast and make every frame count.
2. Protect Your Gear (and Your Ears)
The pit is a high-risk environment. You aren't just managing a camera; you're managing your safety.
Beware the Lasers: This is the ultimate sensor-killer. A single direct hit from a stage laser can burn permanent lines onto your camera sensor. Watch the patterns—if lasers are firing at crowd level, point your camera down. It's not worth a £2,000 repair bill.
Watch Your Gear: It's crowded and people move fast. Keep your straps secure and be aware of your surroundings so you don't get your lens knocked.
Protect Your Ears: Honestly, standing in front of a wall of speakers is brutal. While I don't always carry them myself, I highly recommend you wear earplugs. High-fidelity ones like Loops or Eargasms are ideal because they protect your hearing without muffling the music.
3. Dialling in the Darkness: Best Gig Settings
When the band is moving and the lights are flashing, you can't rely on "Auto." Here is my go-to baseline:
Shutter Speed: Never go below 1/250. For high-energy sets, I push to 1/500 to freeze the sweat and the motion.
Aperture (The f/1.4 Advantage): While f/1.8 is good, f/1.4 is the ideal. That extra bit of light is a lifesaver in dark venues—it allows you to keep your ISO lower and your images much cleaner.
ISO: Don't be afraid of grain. I’ll push my Sony up to 3200 or 6400 comfortably. Noise can be fixed in post, but a blurry shot is useless unless you creative with it.
Focus Mode: AF-C (Continuous) with eye-tracking is a must for singers who won't stand still.
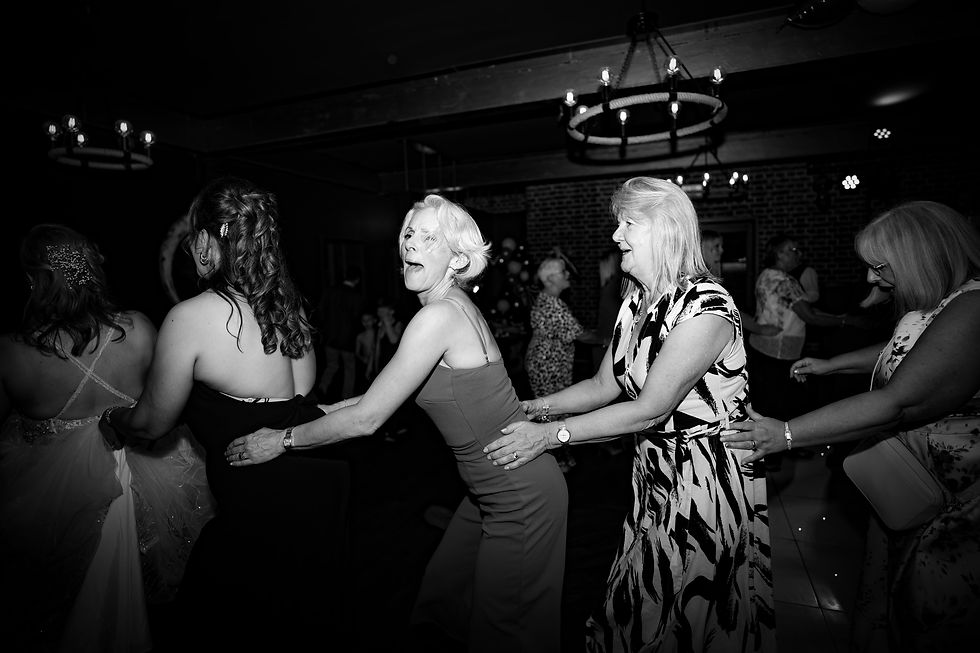
4. Why Black & White is My Secret Weapon
You’ll notice a huge portion of my live music portfolio is in Black and White. While stage lights look cool in person, they often look "muddy" or over-saturated in a photo.
The Dramatic Edge: B&W strips away the distraction of mismatched red or purple lights. It forces the viewer to focus on the grit: the facial expressions, the instruments, and the raw energy.
Uniquely Cinematic: In a world of bright social media photos, B&W stands out. It feels timeless and "film noir," turning a standard gig photo into something that looks like rock 'n' roll history.
The "Fix": Sometimes the lighting is just flat. Converting to high-contrast B&W adds a punch and mood that color simply can't match.
Final Thoughts: Respect the Pit
Live band photography is about capturing a feeling. Be respectful of the security guards, keep your ears protected, and always watch those lasers.
Check out the full gallery on my Music/Events Page to see how these settings look in action!


Comments